
Ranging is a critical part of your shot sequence. Without a proper range all of your time spent gathering ballistic data, practicing your fundamentals, and learning the wind is wasted. You must have a good range to base your solutions off of, so let's dive into ways you can be sure you're getting the proper range.
#1: Improper Range
Despite the prevalence of laser rangefinders, we see a lot of misses caused by improper use of a laser rangefinder or by using a laser which doesn’t have the ability to adapt to the conditions.
Laser rangefinders are an incredible tool. The prevalence of laser rangefinders forever changed the direction of hunting rifle evolution and they were directly responsible for the decline in popularity of hot-rod cartridges, such as the 300 Ultra Mag and the 30-378 Weatherby. Like any tool, their capabilities are limited by technology, how well the engineers understood the needs of the end user, and the skill level of the end user in the field.
We must have a basic understanding of how a laser rangefinder works to understand what can go wrong with this tool.
We must have a basic understanding of how a laser rangefinder works to understand what can go wrong with this tool.
The device emits a pulse of light which is zeroed from the factory to coincide with the reticle used within the unit. The light reflects off the target and the unit analyzes the amount of time it takes to return to determine the range. In a perfect world, the laser beam is precisely zeroed with the reticle and doesn’t project outside of the reticle. Additionally, the whole beam would impact a single, reflective surface so all the returning light registers at the same instant. In reality, the beam doesn’t perfectly imitate the reticle and may impact on an unintended object(s).
So, we must learn where the laser is actually zeroed in relation to the reticle, and we must take advantage of a rangefinder’s targeting modes. All Revic rangefinding products have been engineered with targeting modes that ensure you are getting a correct range.
Zeroing is done at the factory and can not be adjusted by the end user in the field. To check the zero on a laser rangefinder, find a traffic sign with nothing close behind it and move to a distance you can confidently get a good range, say 100-200 yards. Get very steady, preferably with the laser mounted on a tripod. Start with the reticle well off to the side of the sign and acquire a range. Keep hitting the fire button and slowly move the reticle towards the sign. Note where the edge of the reticle is in relation to the edge of the sign when the device first gives you the range to the sign. Keep moving across the sign and note where the other side of the reticle is in relation to the sign when the device stops giving you the range to the sign. Repeat this coming down from above the sign to check where the bottom of the beam is. Now turn the device upside down and repeat from the top of the sign which is actually checking where the top of the beam is without the post supporting the sign interfering.
This gives you a good representation of where the beam really is in relation to the reticle. You might learn that using the bottom of the reticle as your aiming point actually centers the beam on the target. This test should be repeated any time a laser gets dropped or suffers an impact which could disrupt the zero. If the zero is way off it should be returned to the manufacturer. To get the best results conduct this test in the “Near Targeting Mode”.
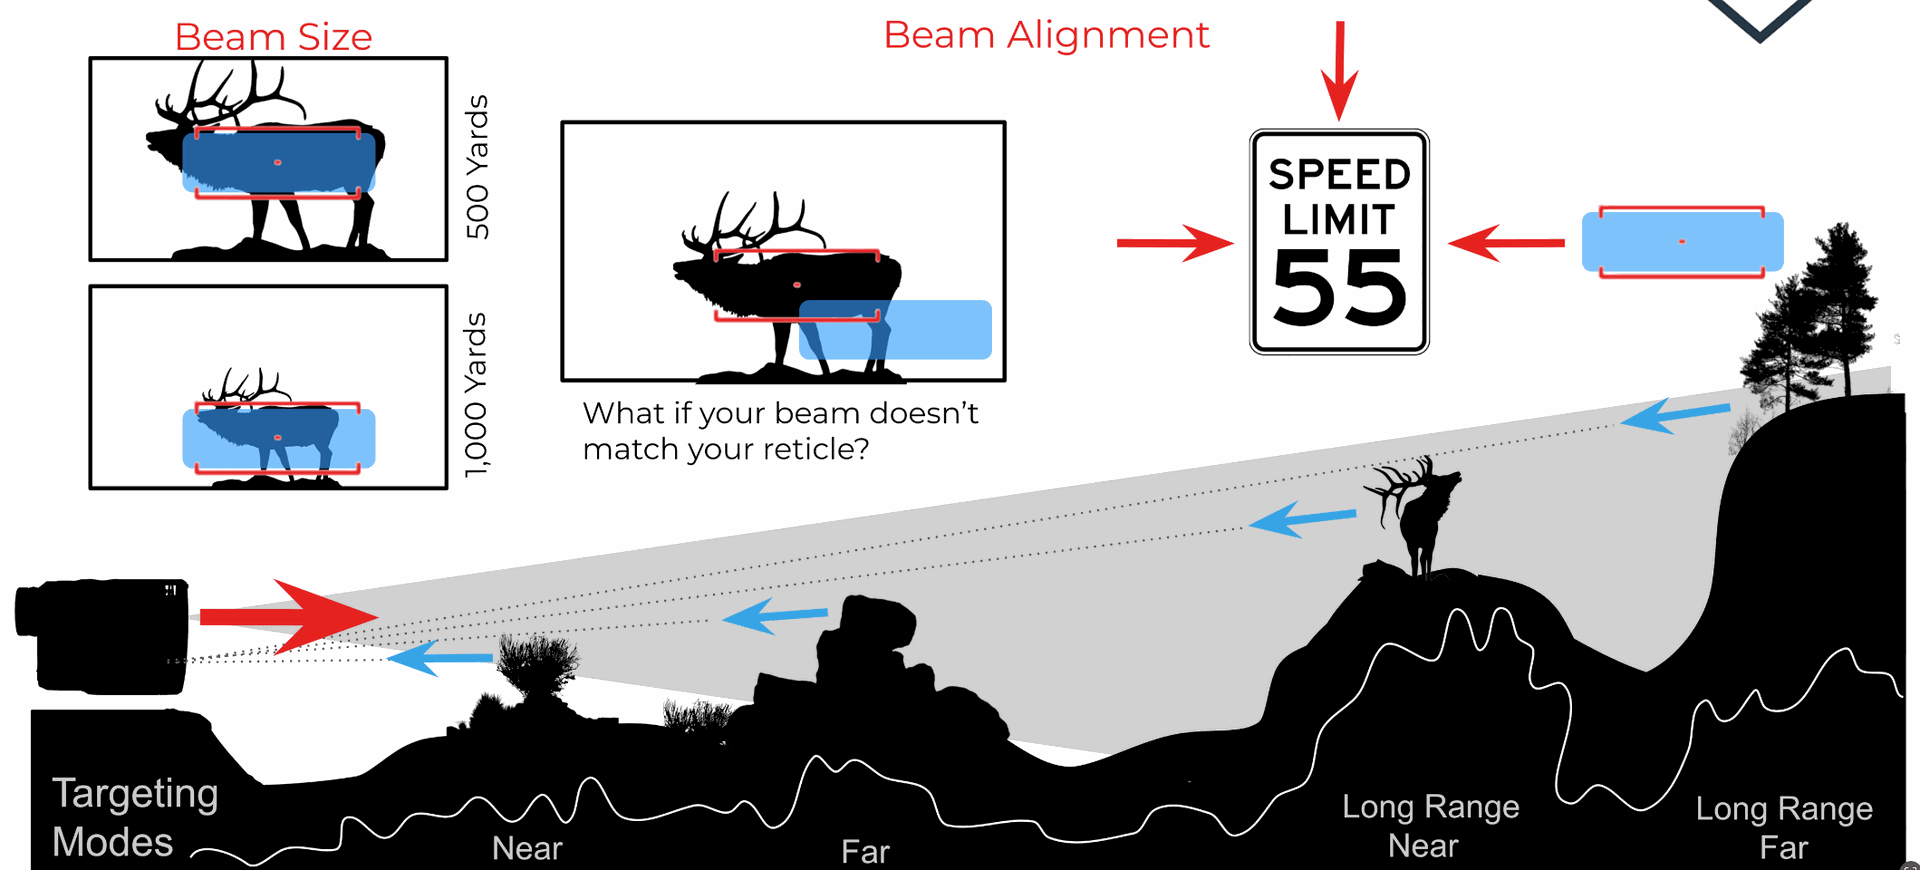
Targeting modes allow us to tell the processor to ignore some of the returning light. In “Near” mode, the device will give us a range on the first returned light and ignore the later returning light. This setting is great for an antelope in the middle of an open field but would fail with a little bit of fog, or rain between us and the target.
In “Far” mode the device ignores the early returns and gives a range on the last returning light. This mode works great for rainy or foggy days. In addition this mode works well when ranging hillsides and trees next to the animal. It would likely fail on the antelope standing in the open plain because more of the light would be returned by the terrain behind the animal than would be reflected off the animal itself.
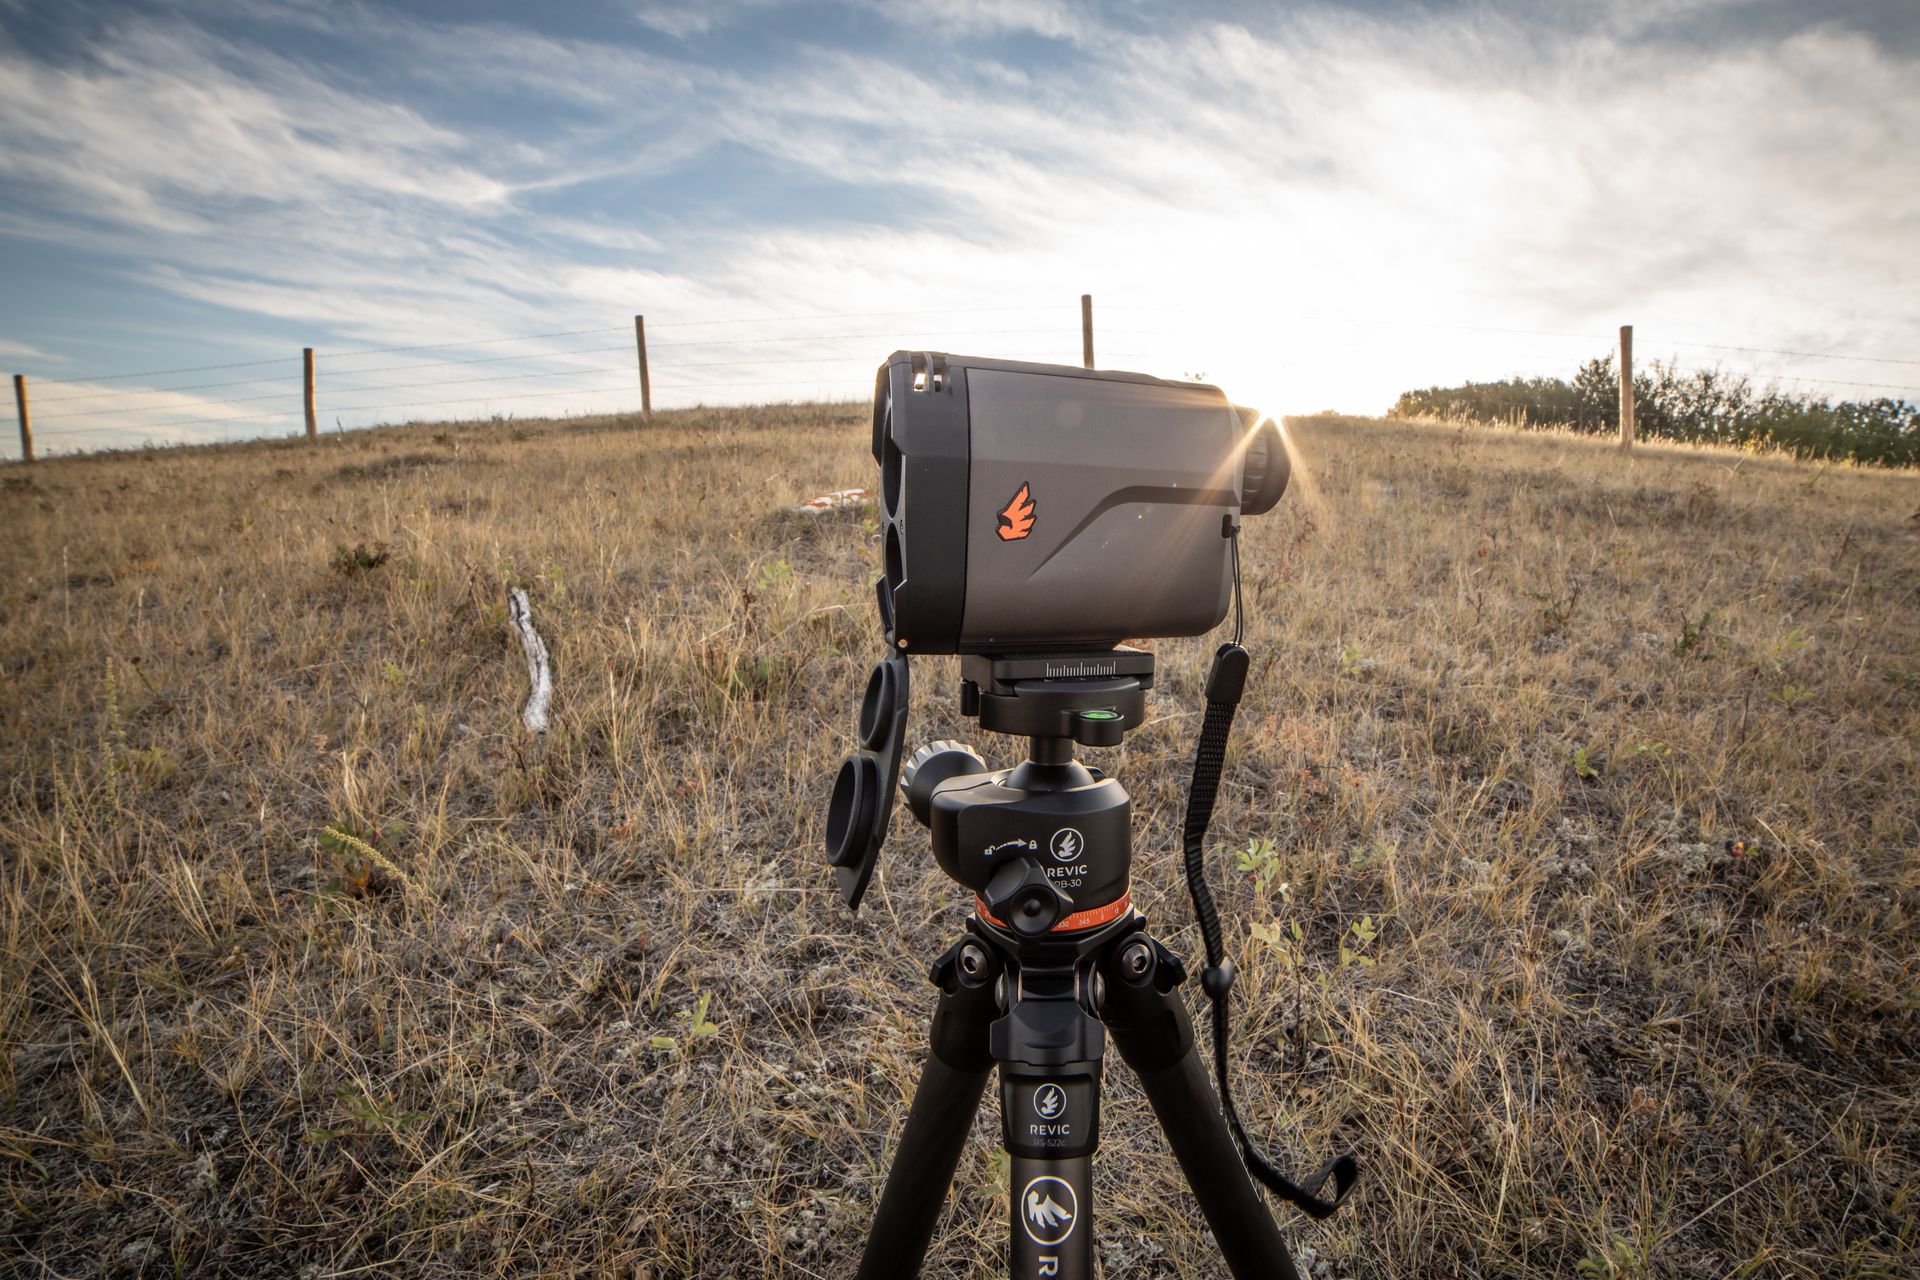
The G7 Laser rangefinder was one of the first rangefinders to incorporate targeting modes and this capability has been further enhanced in the current Revic BR-4 rangefinder and BLR10b binoculars. There are a surprising number of high end ballistic rangefinders on the market which do not have the ability to select targeting modes.
The Revic line of laser rangefinders also incorporate a “Long Range Mode”. When you push the button on a basic laser, the device emits one beam of light. If the beam encounters numerous objects at different ranges the light will get reflected back at different times. The processor has a “threshold” meaning it must get a significant amount of light back all at once to register a range. If the returning light is so spread out that there is not enough light returning at the same instant to break the threshold the device will not display a range. In “Long Range Mode” the device pulses out multiple beams of light for up to 5 seconds. The processor “remembers” the data from each pulse and stacks the data from subsequent pulses on top of each other creating enough data to break the threshold required to display a range. There are “Long Range Near” and “Long Range Far” modes which work just like the “Near” and “Far” modes but with the addition of the multiple pulses for each button push. Generally I work in either “Near” or “Far” mode and switch to the Long Range Mode if I find it difficult to get the device to display a range.
3-Steps to Range
These 3 simple techniques will give you confidence in your range, after you've identified the "zero" in your rangefinder.
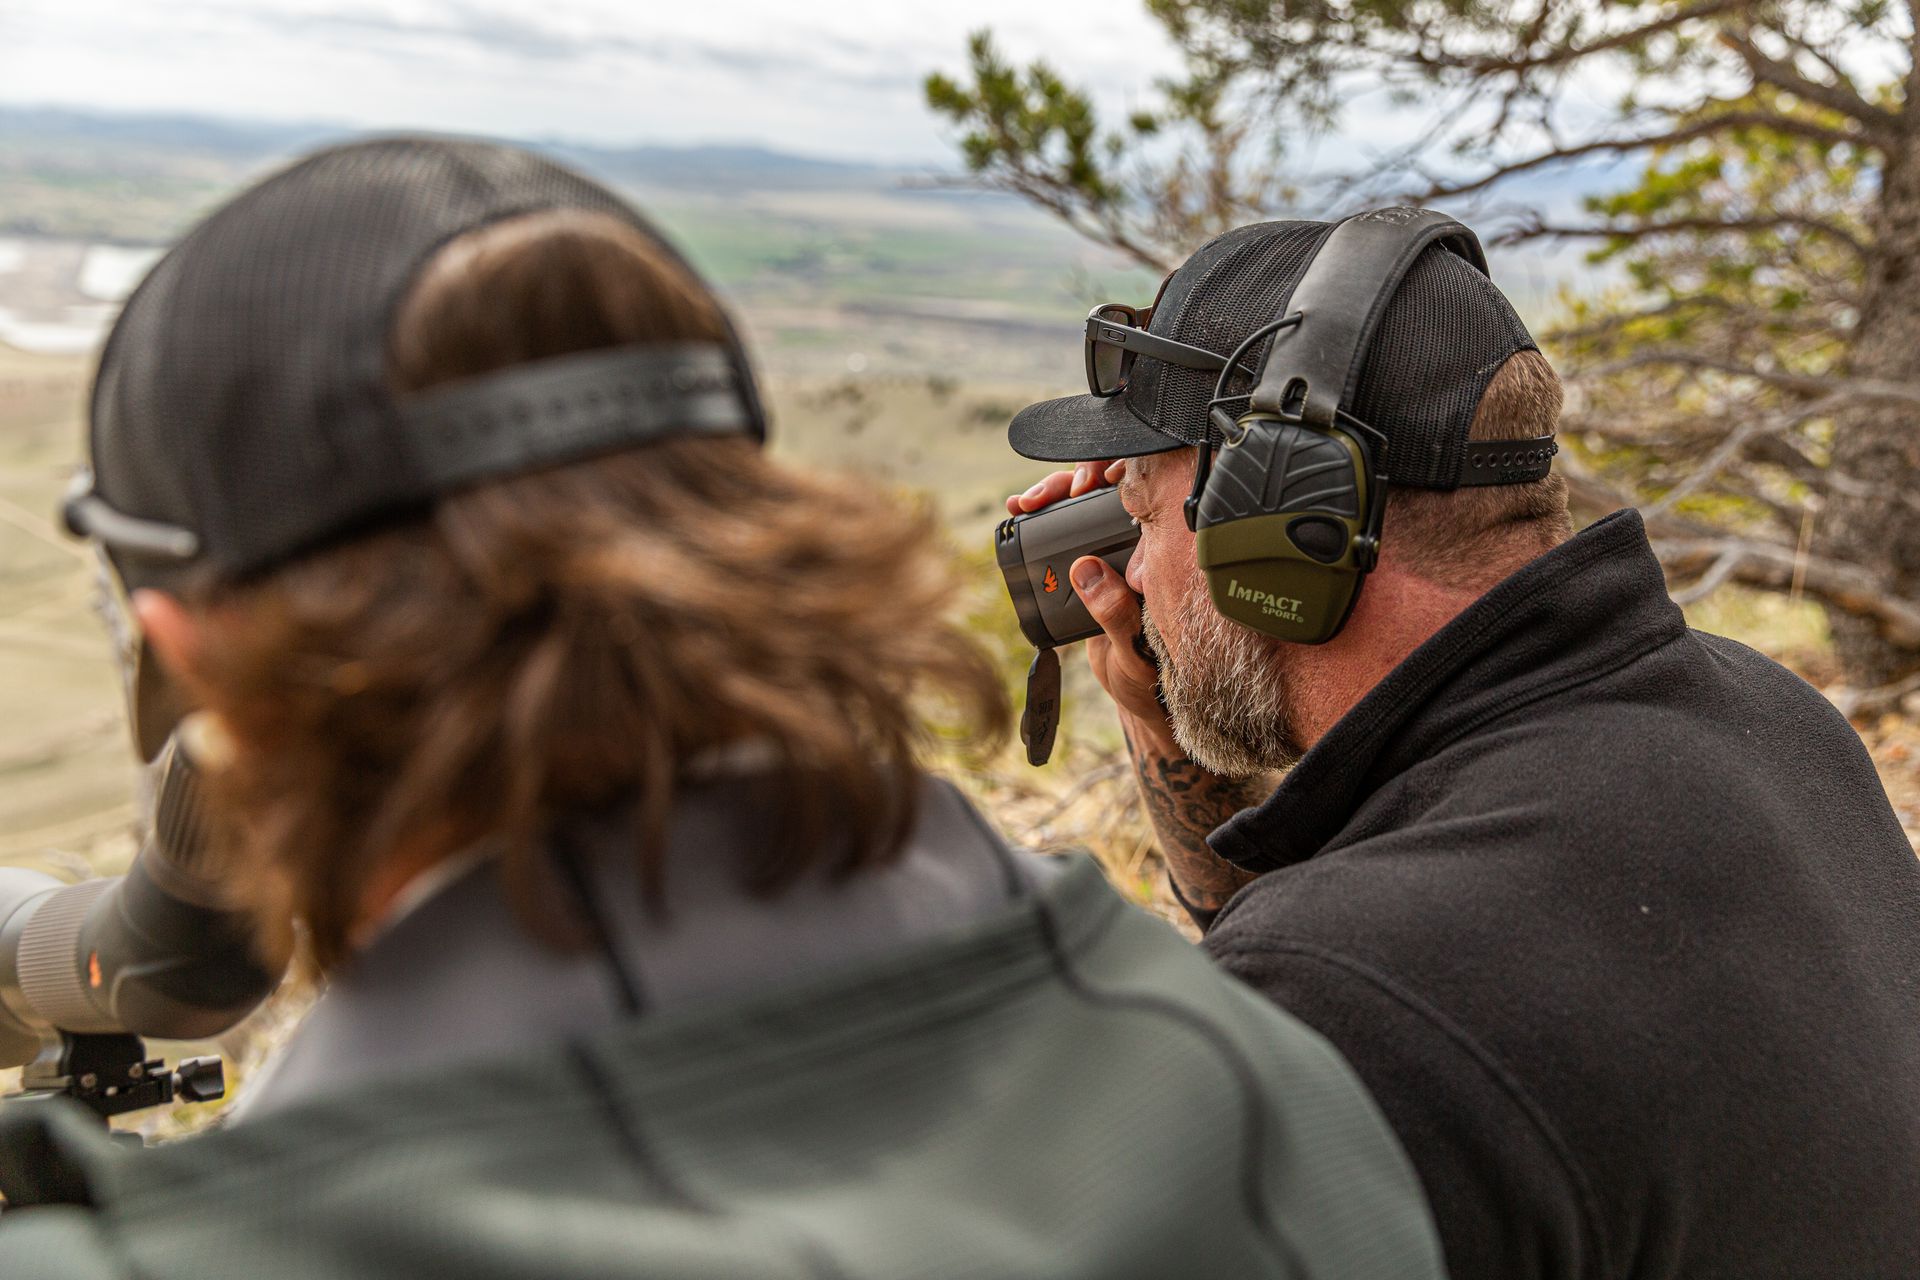
Get Stable
Brace the laser on a solid object or better yet use a tripod. Make sure that nothing such as the elevation knob on your rifle scope is blocking the returned light from getting to the bottom lens on the laser. Stability is even more important if you are working in the “Long Range” modes.
Bracket
Purposely range behind and in front of the animal. Then range the animal. Range distinct features around the animal until you can identify the correct range of the animal from the ranges around it.
Targeting Modes
When ranging the actual animal, use the near mode and start with the reticle above the animal. Slowly lower the beam to the animal and you should see the range change from the terrain behind the target to the animal. When ranging the terrain behind the animal, or the terrain at their feet use the far mode.